
I picked up 2 IKEA Billy bookcases during the christmas season. I wasn't going to buy them but for $29 for each bookcase I thought why not.
Last night I was inspired by the look of a floating or off the ground bookcases and I thought about creating my own out of the Billy bookcases.


How I made the floating Billy bookcase:
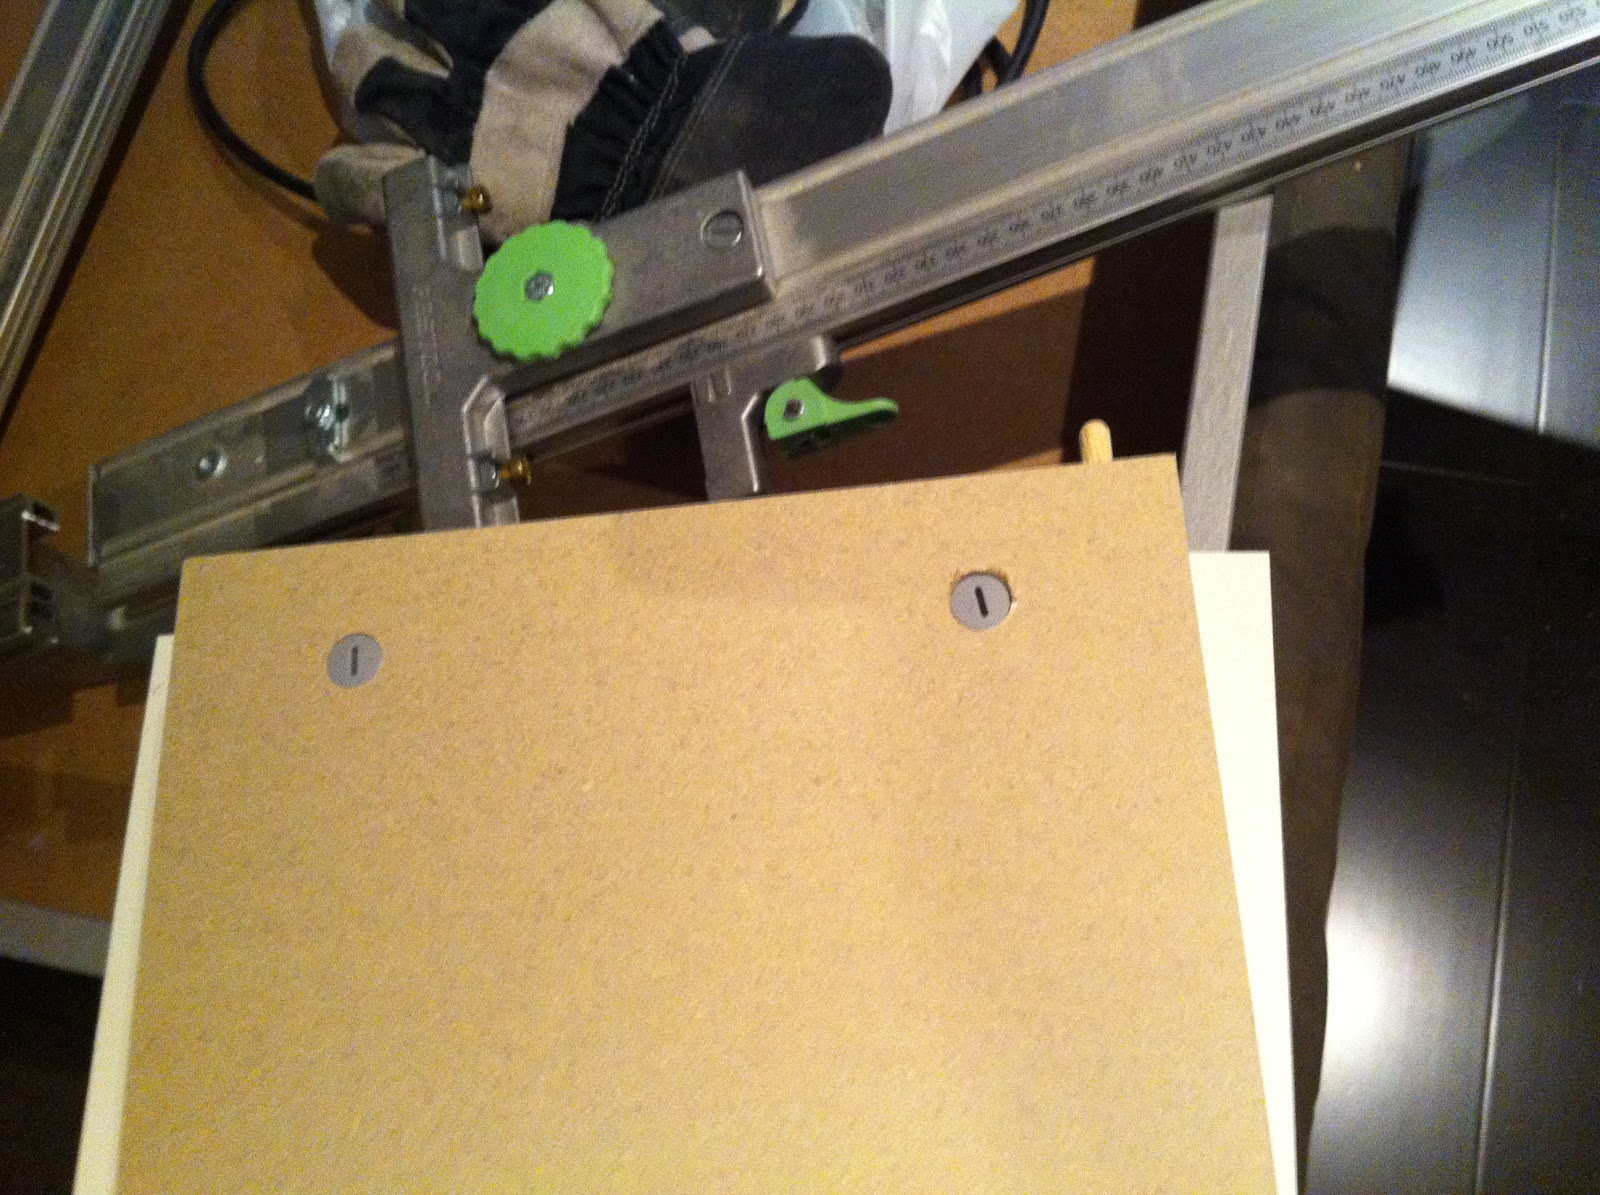
Place 2 pegs into the bottom side bookcase and connect it with the bottom board. Draw a line so you have an exact reference to where to cut the board. I removed the board and took the side piece and placed it on my FESTOOL saw. You can use anything to cut this once you have a guideline.


After you cut the boards place them down in an area where you have space to assemble. I like to use these kids puzzle mats I have lying around. They provide just enough support and prevents the hardwood floors from being scratched up. I would recommend picking some up as they make a great work out mat. You can find them at Toys-R-Us or Costco.

Open up your bag of connectors and start connecting the pegs. I like to work with the easiest connectors and work my way up. You'll slowly sort out your connections by doing this elimination process.

Screw in the metal studs.


Pop in the stud connectors with the open end facing out towards the hole.


Connect the boards with the studs and dowels.

Connect the side panel into the shelves.


Tighten the connectors using a flat head screw driver x12 connectors. After you've done that slide in the backer board. Make sure you draw a line to indicate where the middle shelf is. You won't know where it is after you put in the backer board. I placed a straight edge to remember where to draw the line.

Flush up the backer board to one corner and put one nail in.

Then go to the other corner and straighten out the backer board so it's also flush. The picture below is how it's NOT suppose to look. The above is how it's suppose to look.

Put your L brackets in the corner and put in some tiny screws to hold it in place. A good idea is to pre drill a hole so your screws don't burst the particle board. Make sure to pre drill the backer board holes based off your L bracket. If you don't your backer board may push out since there is a big gap behind the bookcase. Make sure the screw you use is smaller than the thickness of the board.

Make sure you figure out where your studs are and drill in long enough screws to keep it secure.

One thing to note is when you cut off the toe kick area you'll still have this small curve. Use it to your advantage and rest it on your baseboard as support.

Be sure to get an extra hand.
Nice design book case. I don't think a women like me can do Bookcase in my own my powers are very limited. I think buying a Bookcase should be my last resort.
ReplyDelete